Monday, August 20, 2018

Roof and night tables

During these months in which I have down prioritize the blog, we have managed to buy quite some furniture. Finally the house is doesn't feel too empty and even the walls are not suffering any longer of being completely empty and abandoned.
We have even eventually changed Oscar's bed from a crib to a loooong bed.
Jugend bed matching Lightning McQueen blanket 

The bed is a typical cast iron Jugend bed. Sadly some of the small balls decorating the bed were missing and I have asked the blacksmith to fix some. He did, but now I have not yet fixed the color of them. They should be golden as in brass, but they are of course in iron.
Anyway. Next to the bed there is finally a "proper" night table. Before that there was a white office style drawer that Mattias had in his student dorm. Practical but not really matching the style of the room (I bet Oscar did care a lot about that detail).
I am still excelling in taking pictures, so the one above doesn't do justice to the bed and neither the night table.
Oscar's brand new night table
Improvements can be done at any time, but let's start with this and hope he will manage to open the night table drawer and the door without making everything falling on the ground.

The night table has a matching "little sister", which has been given to Oscar's big sister.  
Isabella's nighttable
Isabella's room is coming together. At her desk we see also a chair that has been "recently" bought. I have found out that that is a chair from IKEA, from the 60s, from the Desiree' serie (more info can be found here

Isabella's room

While we still try to fix the interior of the house (and furniture is just one of the issues, of course), we have minor and major projects outside (as already mentioned). 
We are back on one of our favorite subject. The roof. 
When we did the roof renovation we wanted to have all the metal (plåt) painted with linseed oil. 
That didn't work out as the company we hired for the work was not exactly up to the job. 
We then eventually found a pro for this kind of jobs and after two years he has finally had the opportunity to scheduled our roof.
It took anyway a while to start, but now at least there are progresses.

The tower is getting properly washed
I think I take better pictures when we talk roofs and such
After washing the metal, there is a base layer of color to put. Hopefully, we won't have the roof looking like this before the humidity in the air increases and then it is not possible to paint any longer.

The tower is getting refreshed


Standing on the top of the house (almost)
I find it fascinating to go close to the roof and see a lot of details that otherwise are invisible (or less visible).

The cornice is not exactly straight. But it seems by design (for letting the water reach the down pipes)
The old metal is of course not in top notch shape. That is also a reason to paint it. Not just because I am crazy and want to have specific color everywhere.
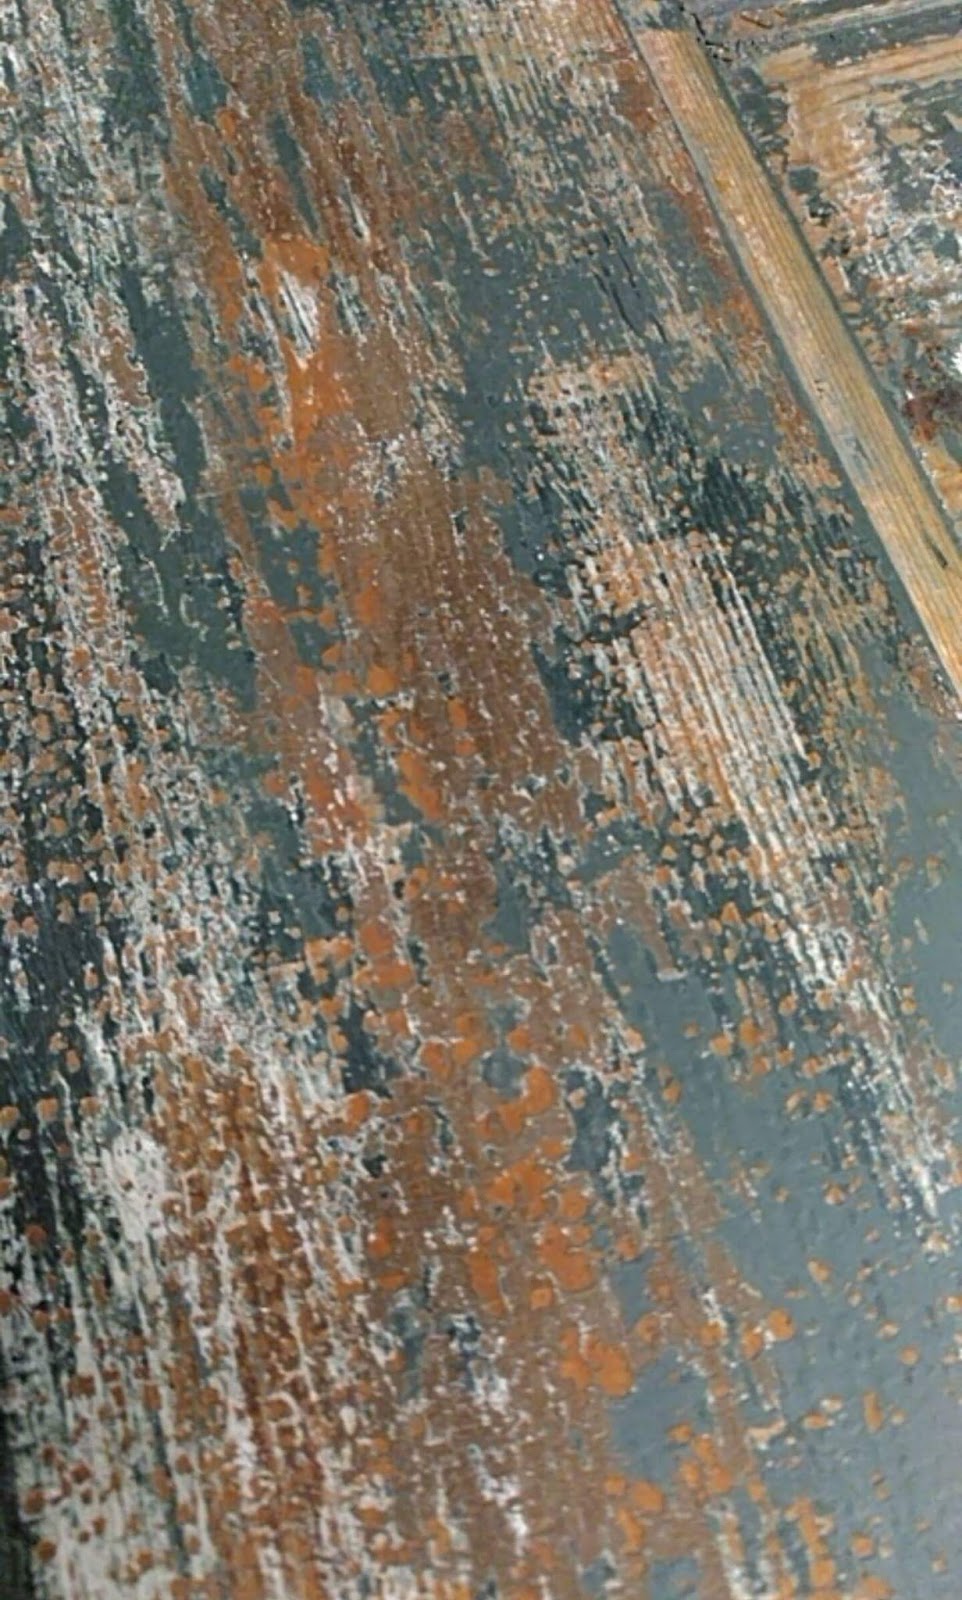
By looking so close to the metal, I have had also the opportunity to study a bit the old color. From the pictures it is of course impossible to identify the variations and except knowing that before 1976 (when the Svenssons bought the house) there was a roof with clay tiles where the metal was brown and whitish, we have no much clue how the roof was originally. Except, it seems that the tiles were the same as in 1958 (so the clay ones).

A detail from the metal that is most likely original in the house
Our attempt to have two shades of green to have the same variation as in the pictures from 1909 is not that wrong. However, as the roof foot was pale yellow, it seems that also the cornice was having the metal pale yellow.
But not all the way up! At the certain level you can see that the deeper layers are a darker green.
Interesting and also a bit frustrating. I would have loved to have the roof with the right colors (and tiles) that the house had 1906.
If I live long enough to go through another roof renovation, I will try that reconstruction (I will probably be too senile for it!)


Tuesday, August 14, 2018

Modernities and antiquities

This summer has finally been a summer. Maybe a bit on the extreme side as for at least 3 months we haven't seen a drop of water and the grass of the neighbour ended up being more yellow than ours.
One of the advantages of our house, except that it keeps fresher than the average Swedish one, is that we have a pool. With roof and that is warmed up.
Yes, the warming up is crucial even if it is 4000 degrees outside.
The best is the evening bath.
Now. I had finally managed to squeeze in some time for doing that, between cutting some of the thousands of hedges we have, and as soon as I did dip my feet in the lukewarm water, the weather has of course changed with an inch of autumn in the air.

Last evening bath for the season?

It is the middle of August. The warmest month of the whole summer. And now it starts with this crappy weather? 

While we have enjoyed this, there have been many other things ongoing, like always.
Firstly, we have recently had a visit of a conservator because well, we have a painted wall. And we know from pictures from the previous owner (which I forgot to photograph) that behind that lovely structured wallpaper in aquamarine color there is more. The painted wall is in the "entrance". Just after stepping in the house and before reaching the big room with the staircase.
Sure, we need to win the lottery to probably reconstructing it all. It might be also overkill, but if it was there from the start, why no?
We can at least start to investigate how that thing is coming off from the wall. 

The painted wall and the wall covered by the ugly wallpaper
On the minor side, finally, after more than a year, I took an evening/night moment to finally paint the floor in that big room with the staircase. Not that I am very happy of it, but this is the best I can get right now.
First it is completely off to have the floor painted. Black, even.
Second, the color I am using is against any byggnadsvård principle. Some form of regular, water based, plastic rich, floor paint.
But right now it is what it is and I am just hoping to not find any more cat pee stains (it is daily now... so annoying) and scratches.
Looks shiny...
I have noticed that the first strokes of color didn't turn out fine, so I need to retouch that (every task generates an infinite amount of tasks like usual), otherwise, it turned out pretty ok.

Sunday, August 5, 2018

Let's revive this

I have been having for about a year the task in my "todo" list to update the blog with news (if one wants to call them as such) related to the house, its history and the projects around it.
However, I have managed to fail miserably in this attempt and now, instead of going to clean the shower or cut the hedge, I decide to find another way to procrastinate both tasks by sitting here and writing again.

There are several things ongoing at Villa Bellevue right now and for inaugurating this attempt to keep a virtual diary of what's happening around here, I will mention some of the work around the pool and the pool house.

First of all, behind the pool there is a little slope. Last year, when we fixed the area around the pool, I didn't let the company working with it saw grass. I thought it'd be impossible to cut it as it is quite steep.
The slope 
At the beginning of the spring, it looked quite ok, but it didn't take too long before it started to become overgrown with weeds of all sort and looking quite unpleasant.
I took the decision to pursue one of my ideas for it, which is to put a lot of stones and some plants between them.
First round of stones
Now, this year it hasn't been really good planting anything, so, the few things that I did plant died when we were on holiday, so right now half of the slope has stones and some very dry poppies. The ambition is to finish the whole slope and have wild strawberries, poppies, daisies and lupines and maybe some other wildish flower growing there.
After putting the stones
I guess that improvement will come next year, considering the lack of rain.
There will be of course still some weeds. I haven't put a ground cloth, since I didn't think it would help considerably here anyway. Maybe a lazy choice, but I also wanted to get this done without killing myself.

The slope, with the pool house being built
After the second round of stones. Everything ever drier.
In the pictures one can see a glimpse of the pool house. I will keep that for another story (hopefully, I will manage to keep a flow on this blog, again).

Thursday, November 2, 2017

Closing (almost) the doors

After several weeks of work and wasting a lot of time in other things, we finally got the doors back in their place.
The garage with its doors

Things worked almost fine, with a small exception (of course, as always it generates additional extra work). Since the bottom of the doors got cut off because in bad state and for avoiding to touch the ground, the "holder" doesn't reach the hole in the ground anymore, so the doors do not "stay put", so to speak.
I realize this explanation doesn't help much, but the only thing is that I will invoke the power of the blacksmith to come and see if there is anything smart he can do to fix the problem.
That's how they look inside (yes, temporary handle and still unfinished details)


That is not the only thing missing though. Painting of the metal is still prio 1 and, after putting the doors back, there are some minor patches that need to be painted again (the top of the door frame and the door got scratched initially, because the door was too "uptight", where the doors were leaning there are minor marks of the pieces of textile that were just under, ...) .
Still a lot of work to do... 


The main problem is that the season is not very favorable anymore for painting, although I have challenged the weather in many other occasions with discrete results.
Now, let's see how long more I have to deal with these doors until they can be really considered finished. Because, after all. I still miss the right handle to close them...! Blacksmith, where are you?!!?


Monday, August 28, 2017

Progresses for the pool

Eventually the pool area is coming together. And when doing that, we have also added some additional tasks to the list of minor/any kind of projects.

Despite my total reluctance to civilization (=fiber), we have at the end bent our knees and dig for that. But only because we are preparing (mentally as well) for having electric cars. If I am much 1906, at least for the cars I think moving towards something environmental friendly is necessary and I want to support that.

Digging done under a mystical light
It doesn't look pretty, but I hope it will work out
Hopefully it will look better later on, after we get an electrician to fix it
On the pool area, we have got the foundation for the house we are planning to built (when, hopefully before next spring).
The foundation
At the same time, we have tiled everything around the pool again, lifting the level up (so no more kids would squeeze themselves under a lock roof) and putting some form of flexible concrete between the tiles, to avoid a forest of weeds.

A lot of tiles and tiles to be cut have been placed again, much more beautifully, around the pool
Behind the pool, towards our neighbour, we have been gifted of an abandoned area. When I say abandoned, I really mean it. A lot of junk had been thrown there, old rotten logs, pieces of metal, rubbish...The area has also grown wildly with plants. 
We thought (although we have no plans for it yet) to give it a clean out. After all, we can't have a fancy pool area (or at least a neat one) and a jungle of whatever just on its edge.


The edge between the pool and the "forgotten" part of the garden


Cleaning out the area from a lot of everything that has grown wildly. The density of birches were the highest in the whole Åkarp ;-)
Work is still ongoing, but I hope at least this part of the job can be concluded soon. Then we will have to face the house building. How, I am not really sure yet...


Bellevue, a construction site once again


Thursday, August 17, 2017

The garage doors

Repeating that there is always something to fix is going to be boring. But I will like to add to that that every project we start takes forever to be fulfilled and there is always some spin off.
One of this summer projects have been the garage doors renovation.
Our garage, probably built for Nils Lorenz Larsson around 1920, when he got his first car.
First task for this was to be able to OPEN the doors, because more and more soil and dirt have been accumulated in front of them, making the simple act of trying to go inside the building basically mission impossible.

When digging out we found out that under all the layers, there were some stones (ölandstenar) and we have started at least to make them visible a bit, although we have - of course! - not completed the task and we have done an approximate job.
Finding the stones under the grass.

So, the doors have been in a quite dreadful abandoned state. They could barely be opened, closed, locked, anything (?), pieces of wood were flying around when Mattias passed nearby (he has a magic touch), the planks were getting apart, ....
They therefore got to have a beauty treatment at a carpenter.

The doors are at the carpenter. Getting repaired where needed
A bit of the bottom will be filed off since it is in a bad state and so that they don't touch the ground too much. The hinge was having masonite under it and got completely rusty

The planks are also getting glued together
When doing the reparation the carpenter removed two hinges, which had been applied with a thick layer of masonite under. The result was that (since they were on the lower part of the door), they have probably got quite some water and they got completely rusty and couldn't be saved.
The bad state of the hinges

How the rust have been eating them up
That required to open a new task. Go to blacksmith and get new hinges, carriage bolts and screwnuts
That resulted into a new collection of items:
New and old hinges


New and old carriage bolts (photo courtesy of Martin Hansson)
New and old hinges, detail


Getting some anti-rust paint

Getting some anti-rust paint

The carpenter had then to try to remove the previous lock mechanism. That was completely rusty and useless.
For doing that he had to remove the handle, which sadly he cut off in two (he stated it was necessary because they were rusty inside and became a big block)

My decapitated handle
That of course generated yet a new more task (for the blacksmith again). Of course, I can buy a new used one that looks the same. But it won't be the same one that every owner of my house (minus two) have been using years after years!

What was left of the lock mechanism
Also the fact that the lock mechanism has seen better years generated yet a new task, but this time sort of "easy" to handle. Just find a proper new mechanism that would fit somewhat our door.
Where the locks where. Now got filled in with a new lock and new wood.
Once the doors got finally home, the hard work of painting them started. First, after scraping the door from loose paint, base paint and then two layers. Hard work but I am pretty satisfied of the result.
Scraping the doors. Removed almost all the paint with the help of some infrared heat. Most of it was coming off itself though 

It looks as the first layer is brown, then white, and then there are two layers of green. 

Base paint

Base paint


Applying the first layer

Second layer

Second layer

What is left now to do is the door frame. I have started to paint it a bit yesterday (I had already retouched it a bit and paint where needed some base paint) and finally, the new hinges need to be mounted (and with the help of God, for once, there won't be any side issues or extra things to fix) and the doors need to be turned for getting paint on the other side.


First layer of brown for the inner part of the door frame


The door frame. Rotten at the bottom. Some extra care will need to be granted.
Now, let's see when I will get done and the doors will be mounted back...(will they work fine, then? I bet there will be surprises...)

Saturday, August 12, 2017

Doorbell

It is interesting that we have been living now in this house for five years and still, we don't have a doorbell working.
We have had some "modern" things on the gate and at the secondary entrance (via the kitchen), which worked so so, until one of them gave up fully.
There are traces of a traditional doorbell at the kitchen door, so that is something that will need furthermore investigation.
Now, when we moved (and even during the showing of the house) no working doorbell has ever been seen at the main door.
The doorbell leftovers on the main door

The previous owner left what he might have bought for fixing the problem for some possible buyer (with a better eye than us?), but apart that I can't find the button anymore, it looks a bit plain and boring.
Must have been something similar to this, that we have in pieces somewhere in the basement. Doorbell from Byggfabriken

Inspired by Villa Florens in Malmö, I went and search for some second hand doorbell, with the difficulty that the space on our door frame is very tiny, and hence, limiting the research basically to nothing.
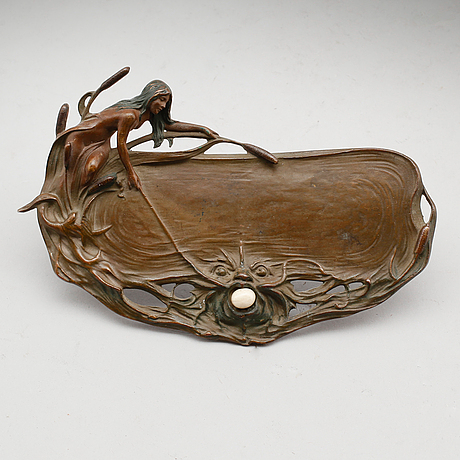
A wonderful example of a jugend doorbell. So beautiful but also huge. From Bukowskis Market
I ended up buying a product from the german Ebay that looks pretty ok and fits the measurement, but it is newly produced (so there are chance it is going to work without too much fuzz, maybe?) and maybe doesn't seem hyper genuine, but whatever.
I can't break my head on everything right?
I have now to "just" try it out and see if the whole ringing thingy is working still....(probably not?)


Longing to test it...!