Repeating that there is always something to fix is going to be boring. But I will like to add to that that every project we start takes forever to be fulfilled and there is always some spin off.
One of this summer projects have been the garage doors renovation.
 |
| Our garage, probably built for Nils Lorenz Larsson around 1920, when he got his first car. |
First task for this was to be able to OPEN the doors, because more and more soil and dirt have been accumulated in front of them, making the simple act of trying to go inside the building basically mission impossible.
When digging out we found out that under all the layers, there were some stones (
ölandstenar) and we have started at least to make them visible a bit, although we have - of course! - not completed the task and we have done an approximate job.
 |
| Finding the stones under the grass. |
So, the doors have been in a quite dreadful abandoned state. They could barely be opened, closed, locked, anything (?), pieces of wood were flying around when Mattias passed nearby (he has a magic touch), the planks were getting apart, ....
They therefore got to have a beauty treatment at a carpenter.
 |
| The doors are at the carpenter. Getting repaired where needed |
 |
| A bit of the bottom will be filed off since it is in a bad state and so that they don't touch the ground too much. The hinge was having masonite under it and got completely rusty |
 |
| The planks are also getting glued together |
When doing the reparation the carpenter removed two hinges, which had been applied with a thick layer of masonite under. The result was that (since they were on the lower part of the door), they have probably got quite some water and they got completely rusty and couldn't be saved.
 |
| The bad state of the hinges |
 |
| How the rust have been eating them up |
That required to open a new task. Go to blacksmith and get new hinges, carriage bolts and screwnuts
That resulted into a new collection of items:
 |
| New and old hinges |
 |
| New and old carriage bolts (photo courtesy of Martin Hansson) |
 |
| New and old hinges, detail |
 |
| Getting some anti-rust paint |
 |
| Getting some anti-rust paint |
The carpenter had then to try to remove the previous lock mechanism. That was completely rusty and useless.
For doing that he had to remove the handle, which sadly he cut off in two (he stated it was necessary because they were rusty inside and became a big block)
 |
| My decapitated handle |
That of course generated yet a new more task (for the blacksmith again). Of course, I can buy a new used one that looks the same. But it won't be the same one that every owner of my house (minus two) have been using years after years!
 |
| What was left of the lock mechanism |
Also the fact that the lock mechanism has seen better years generated yet a new task, but this time sort of "easy" to handle. Just find a proper new mechanism that would fit somewhat our door.
 |
Where the locks where. Now got filled in with a new lock and new wood.
|
Once the doors got finally home, the hard work of painting them started. First, after scraping the door from loose paint, base paint and then two layers. Hard work but I am pretty satisfied of the result.
 |
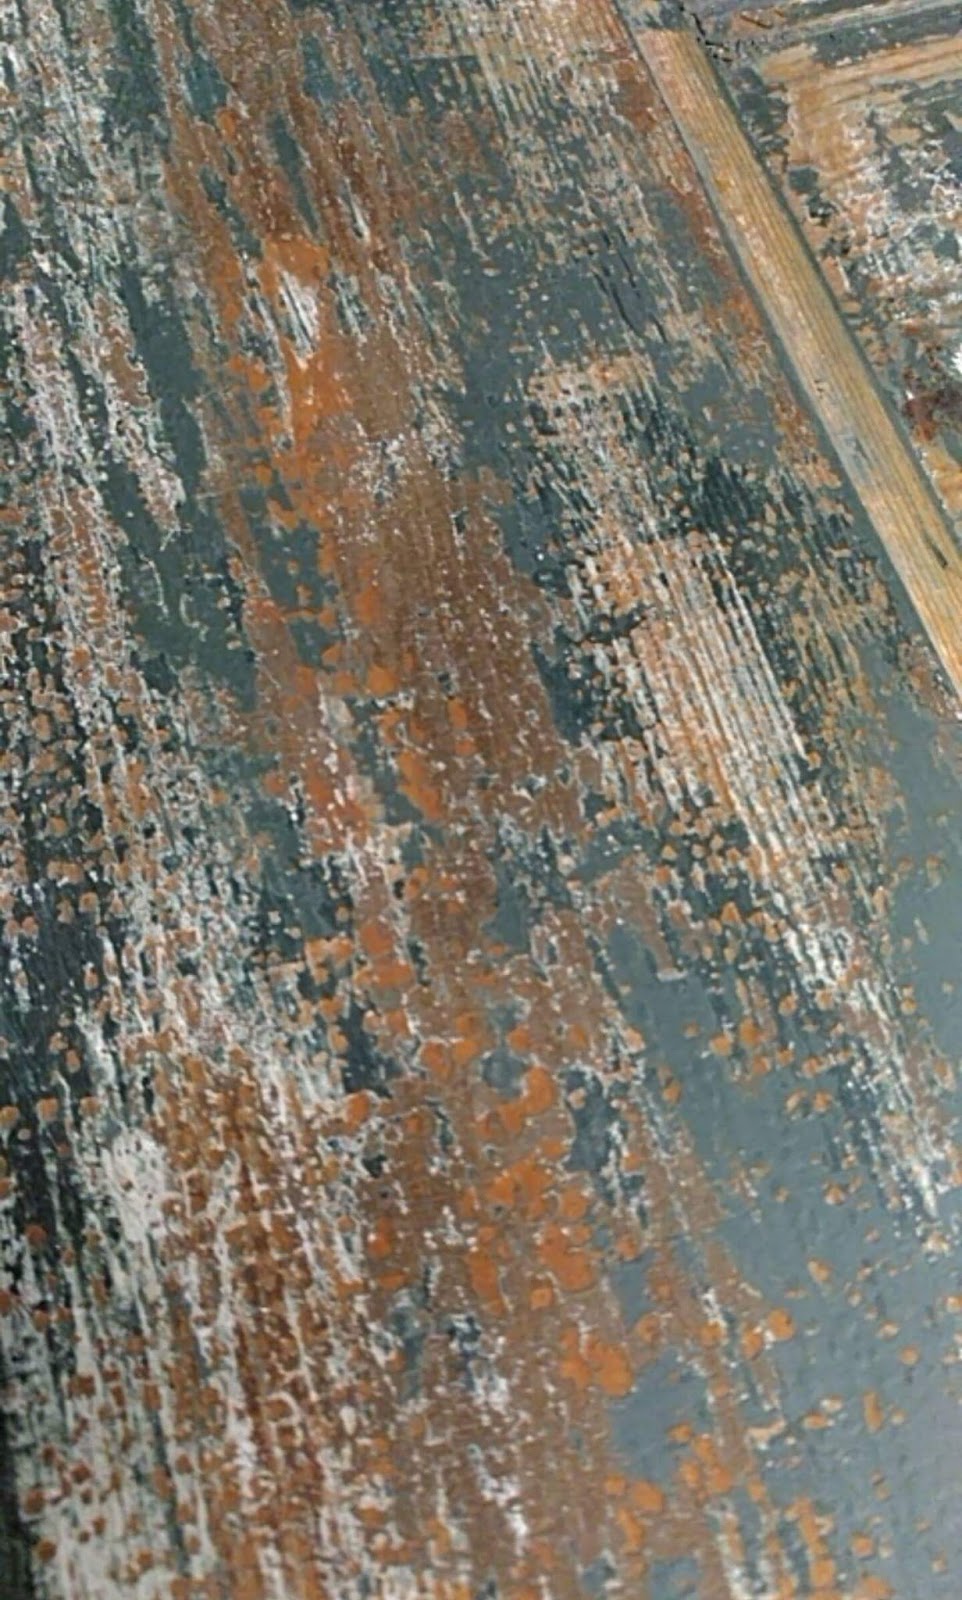
| Scraping the doors. Removed almost all the paint with the help of some infrared heat. Most of it was coming off itself though |
 |
| It looks as the first layer is brown, then white, and then there are two layers of green. |
 |
| Base paint |
 |
| Base paint |
 |
| Applying the first layer |
 |
| Second layer |
 |
| Second layer |
What is left now to do is the door frame. I have started to paint it a bit yesterday (I had already retouched it a bit and paint where needed some base paint) and finally, the new hinges need to be mounted (and with the help of God, for once, there won't be any side issues or extra things to fix) and the doors need to be turned for getting paint on the other side.
 |
| First layer of brown for the inner part of the door frame |
 |
| The door frame. Rotten at the bottom. Some extra care will need to be granted. |
Now, let's see when I will get done and the doors will be mounted back...(will they work fine, then? I bet there will be surprises...)